This article will demonstrate how to set up an email service with Thexyz on your custom domain name.
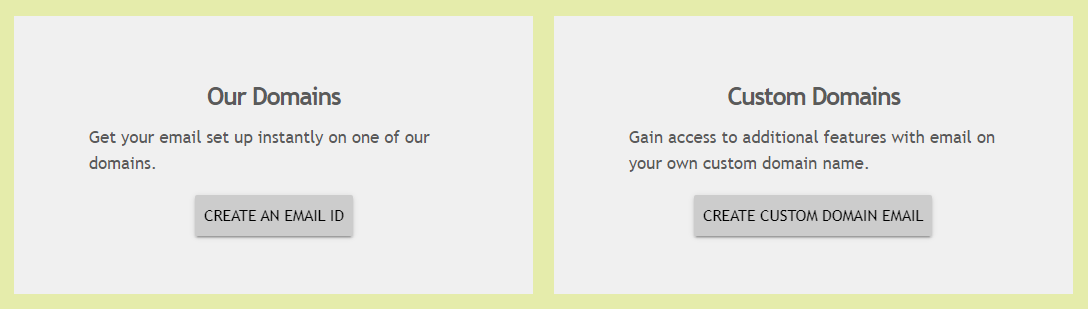
When ordering an email service from Thexyz, be sure to select Custom Domains on this page.
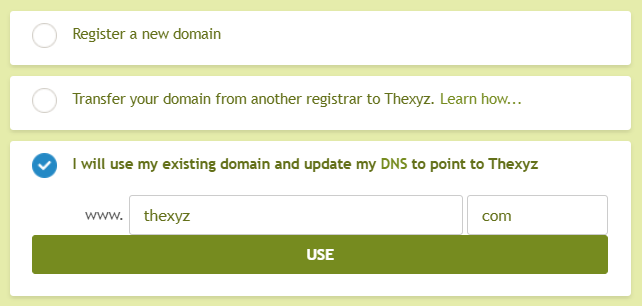
You should now choose the domain that you wish to have email service on. If you do not already have a domain, you can search and register a domain with Thexyz, transfer your existing domain to Thexyz, or use an existing domain that you currently own, and update the DNS to point to Thexyz.
Please refer to the below guides on transferring your domain and updating your DNS. If your domain is registered through Thexyz, you will not need to modify the DNS settings.
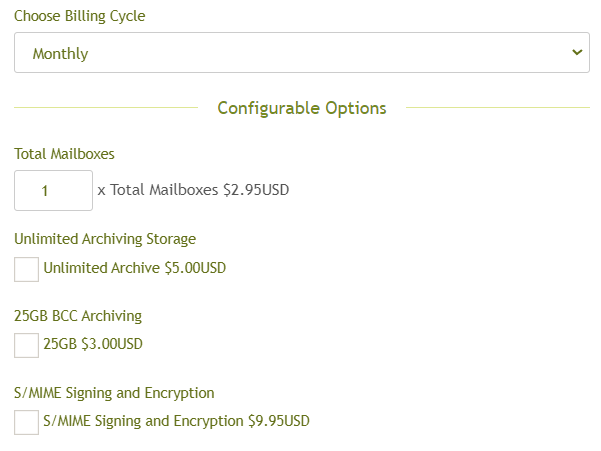
Once you have selected the domain that you wish to use, you can choose your billing cycle and select any optional Configurable Options...
Email archiving and S/MIME encryption are both optional add-ons that are usually added when compliance is required for email security or data retention.
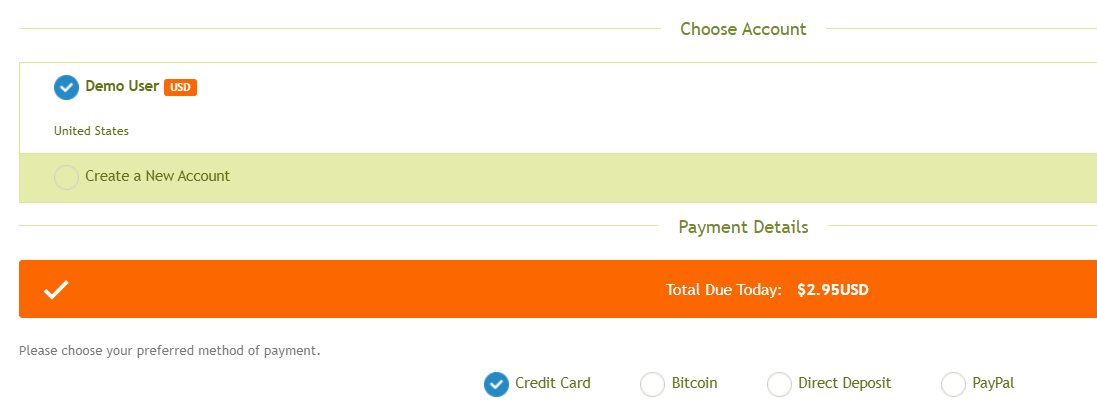
Now you have configured the options, you can proceed to order the service by filling out payment information or logging in to an existing account.
Once paid, the order will be verified and you will be notified via email that the service has been activated. You can access your Dashboard and click Services.
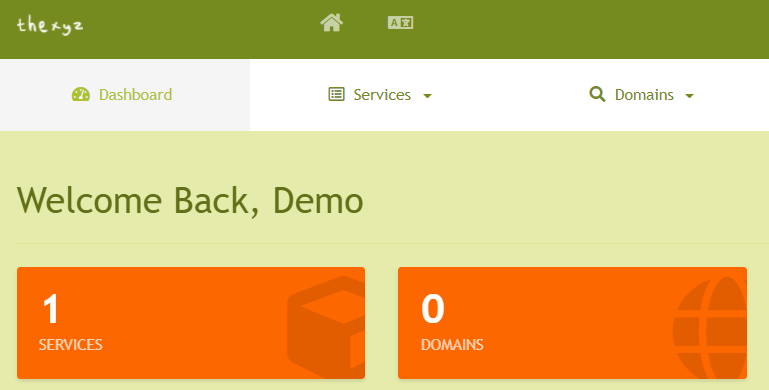
Locate your email hosting and click on it to add your first mailbox.

Scroll down the page and select Managing Mailboxes.

On the next screen, click Add Mailbox.

Fill out the required information to create your mailbox. Then click Save.
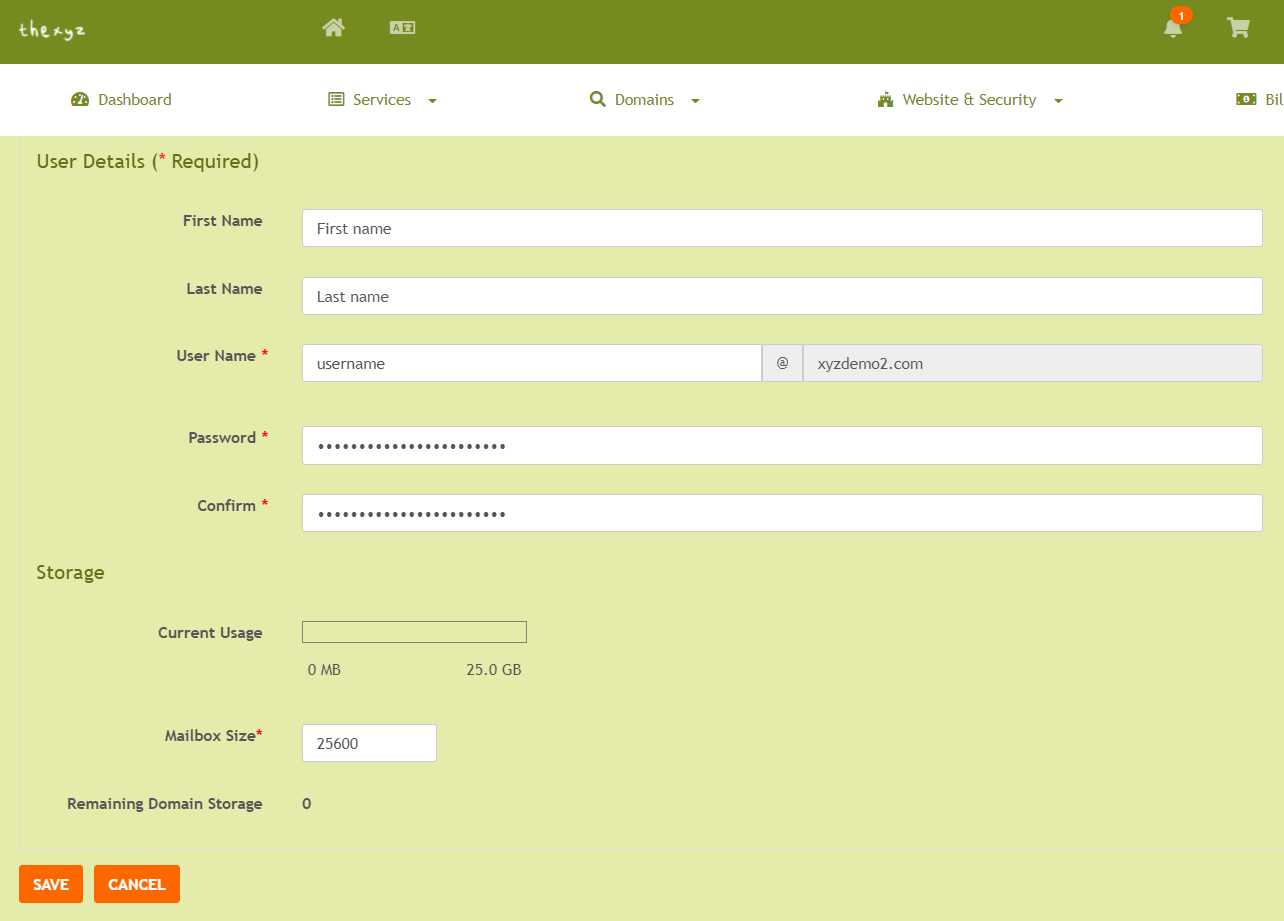
Now that your mailbox has been created, you can log in to Webmail here: https://webmail.thexyz.com
If you haven't already, you will need to configure your DNS to point to Thexyz. There is a guide on setting up your DNS to use Thexyz email.