Android: Outlook for Android (IMAP)
- Download the Outlook for Android app from the Play Store here
- Once it downloads, open it, and tap the blue Get Started button
- Enter your email address: Your email address
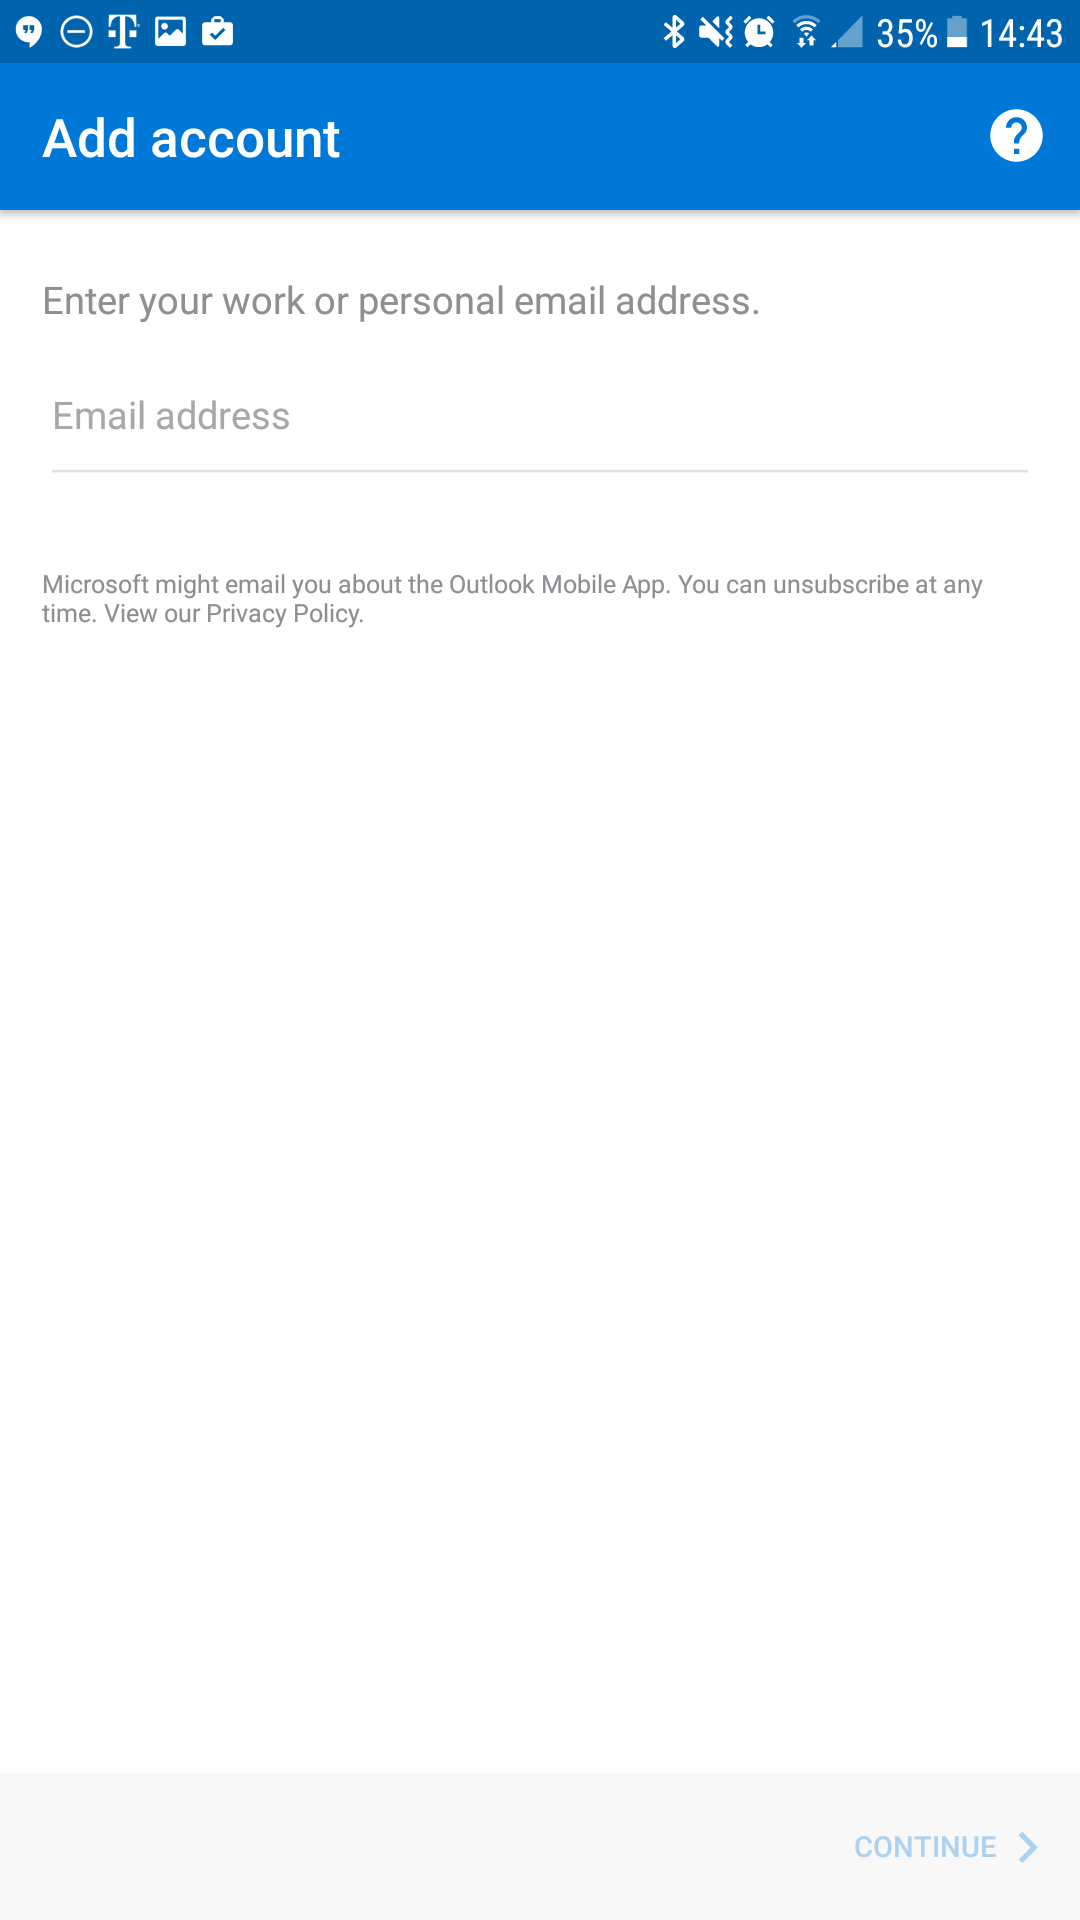
- Tap Continue
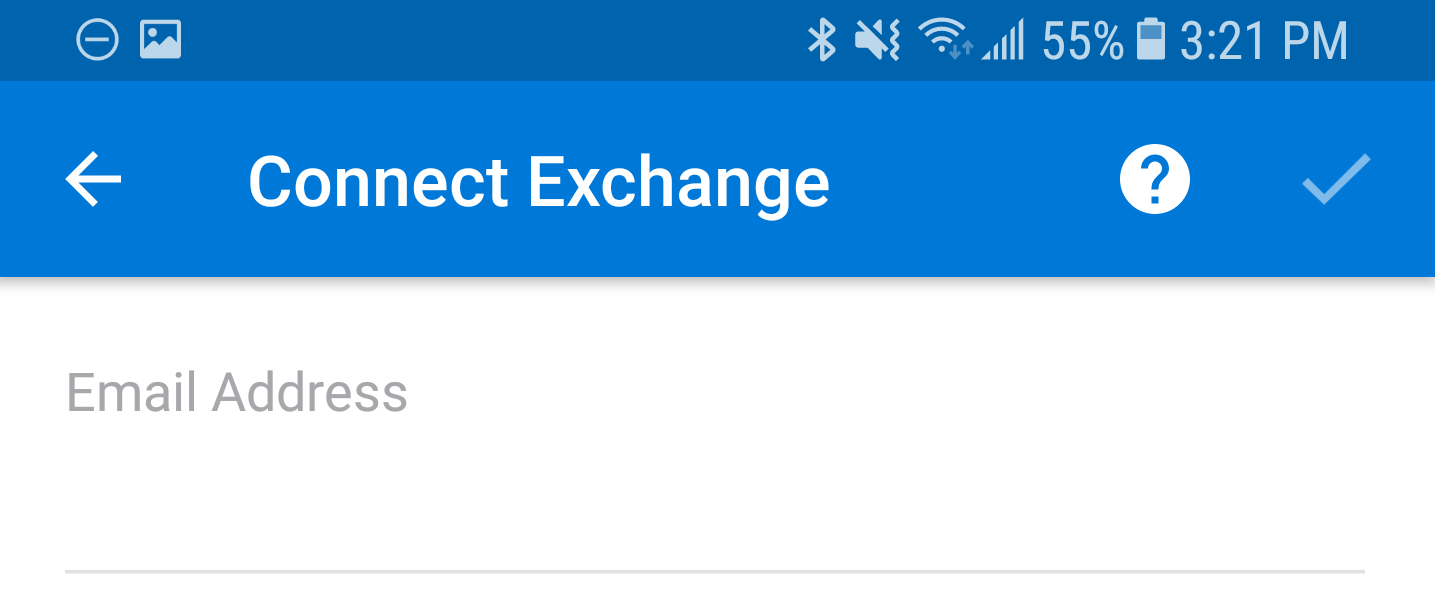
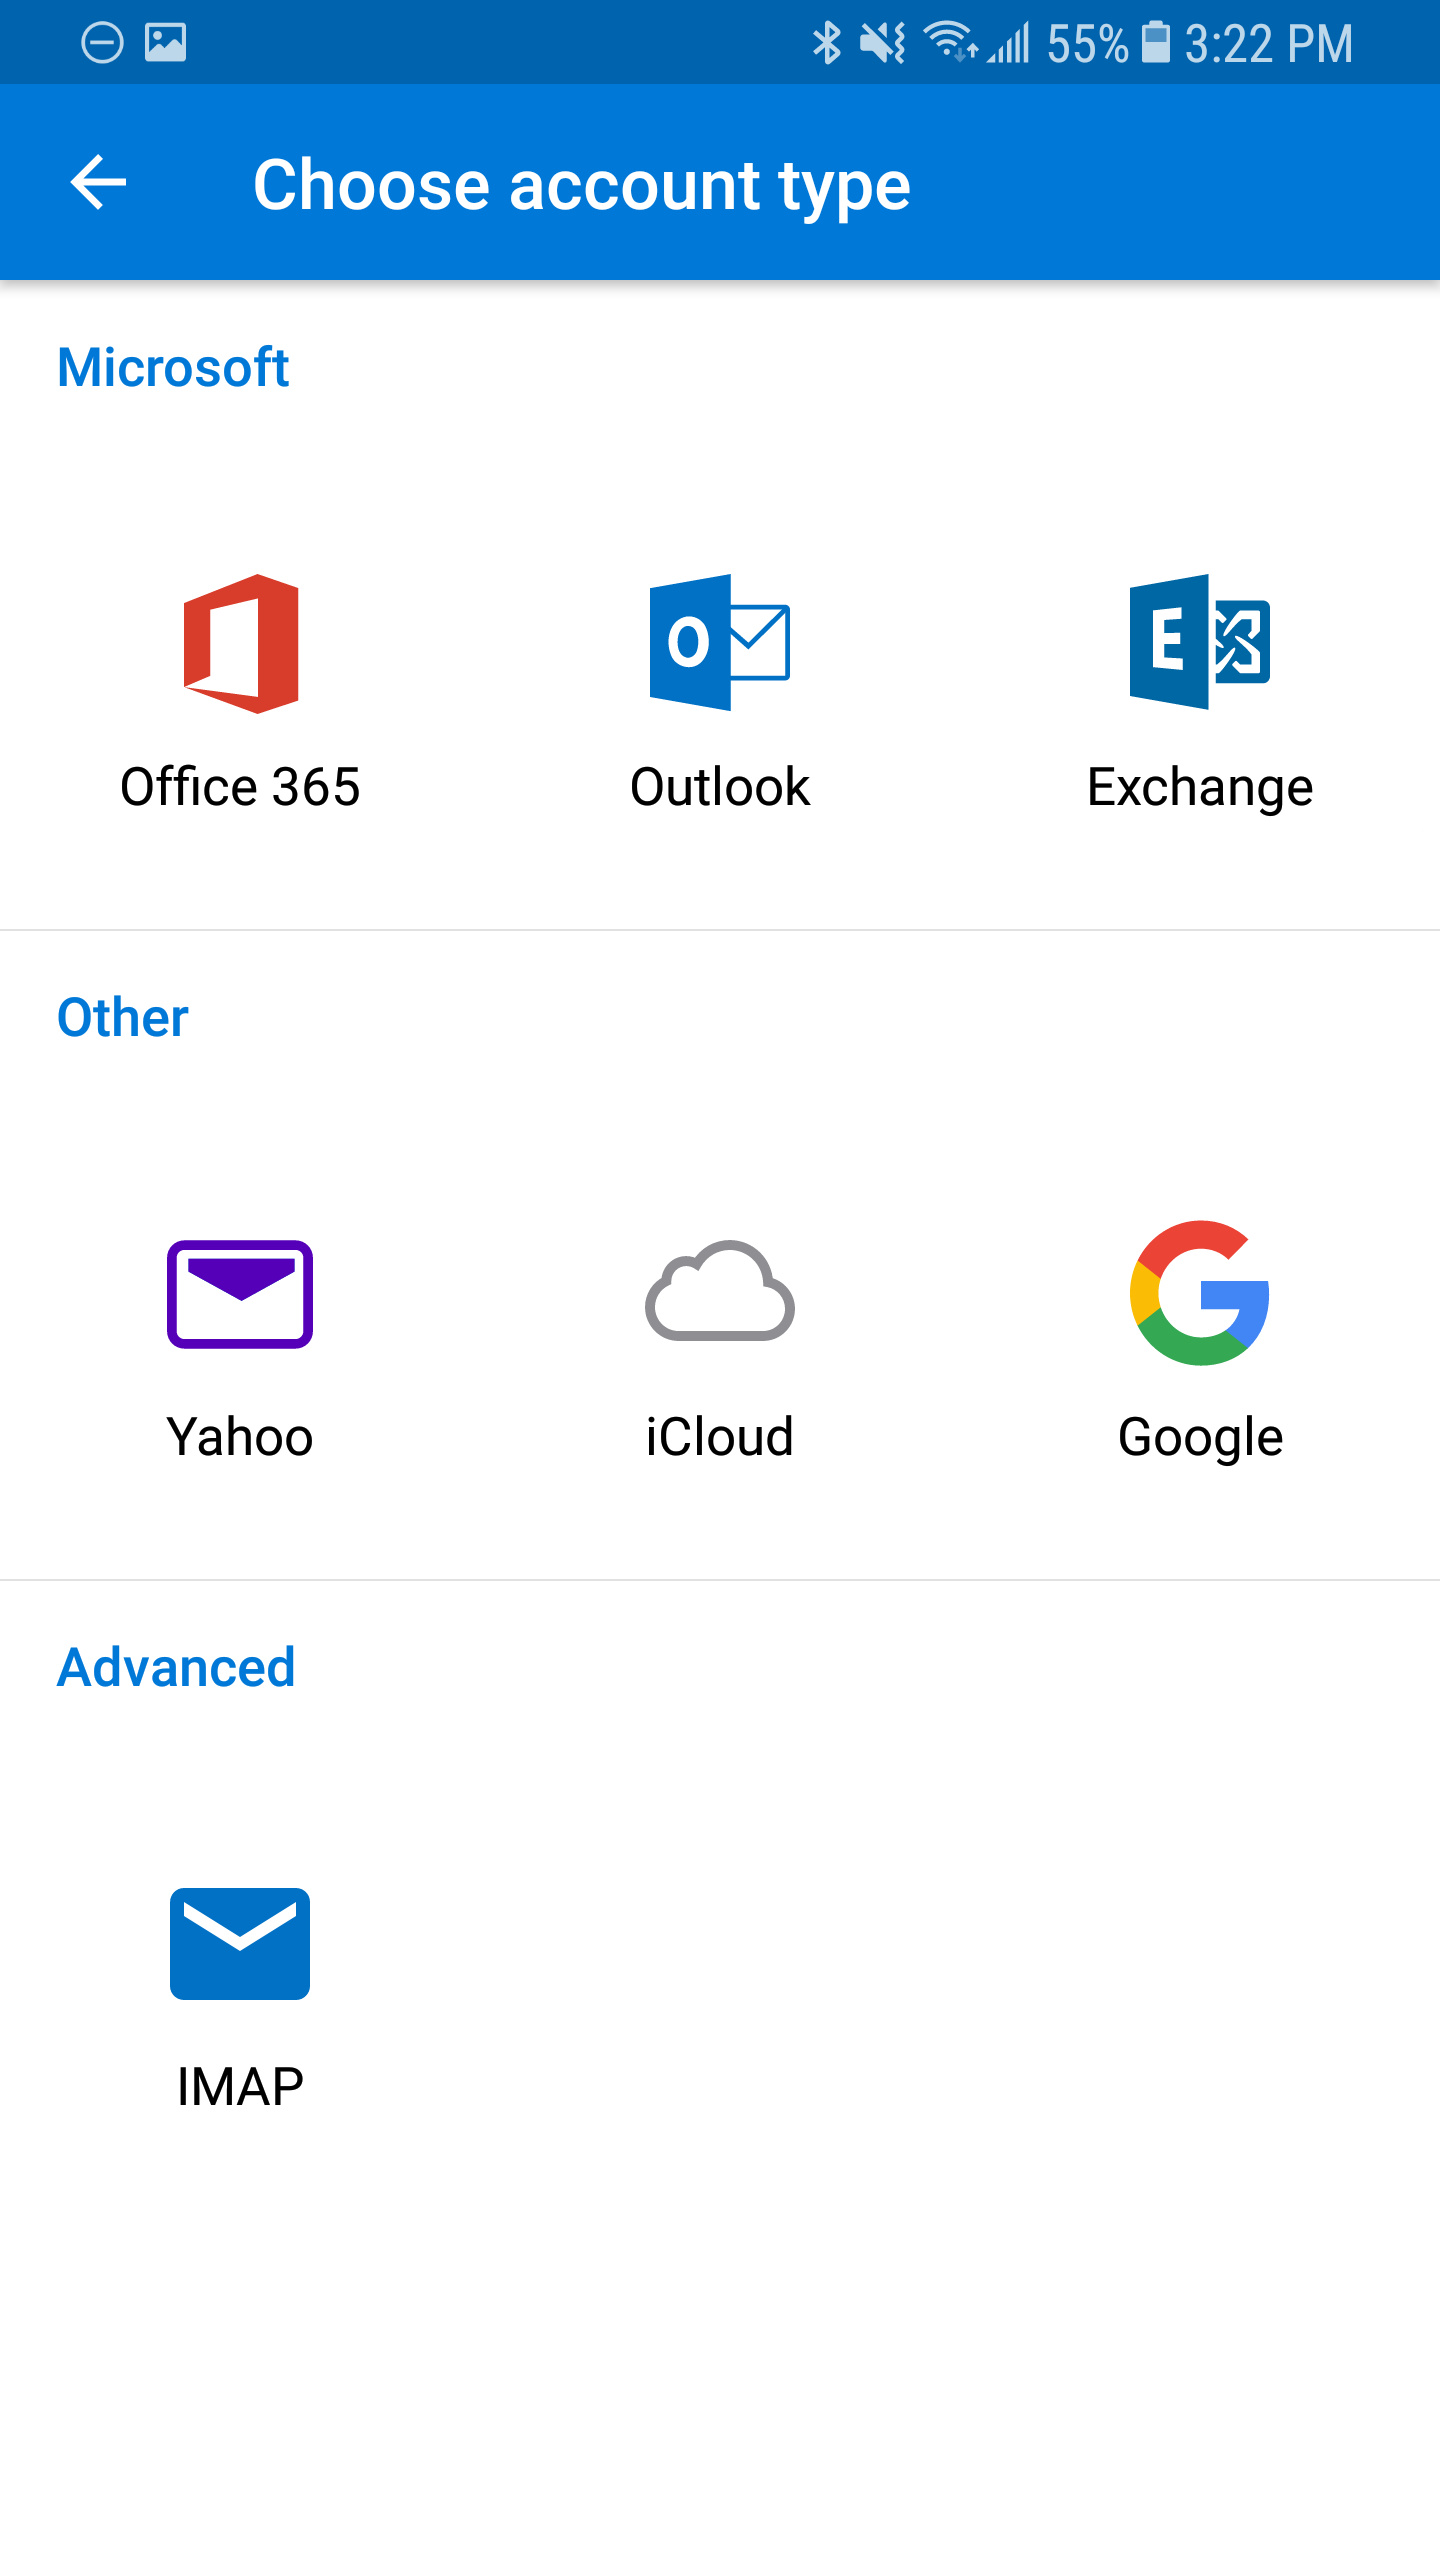
- Now, the app by default will choose Exchange. Tap on the white Question Mark icon on the top left
- Then tap Change account provider
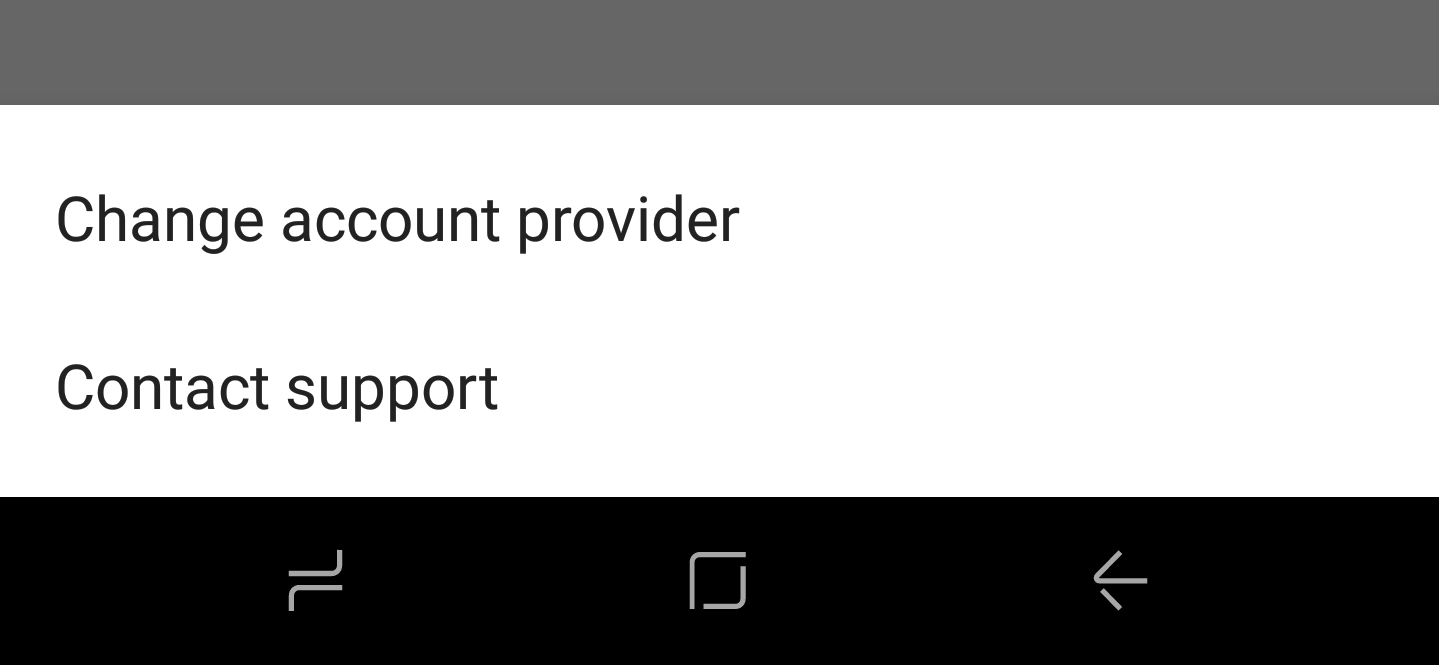
- Select IMAP, at the bottom
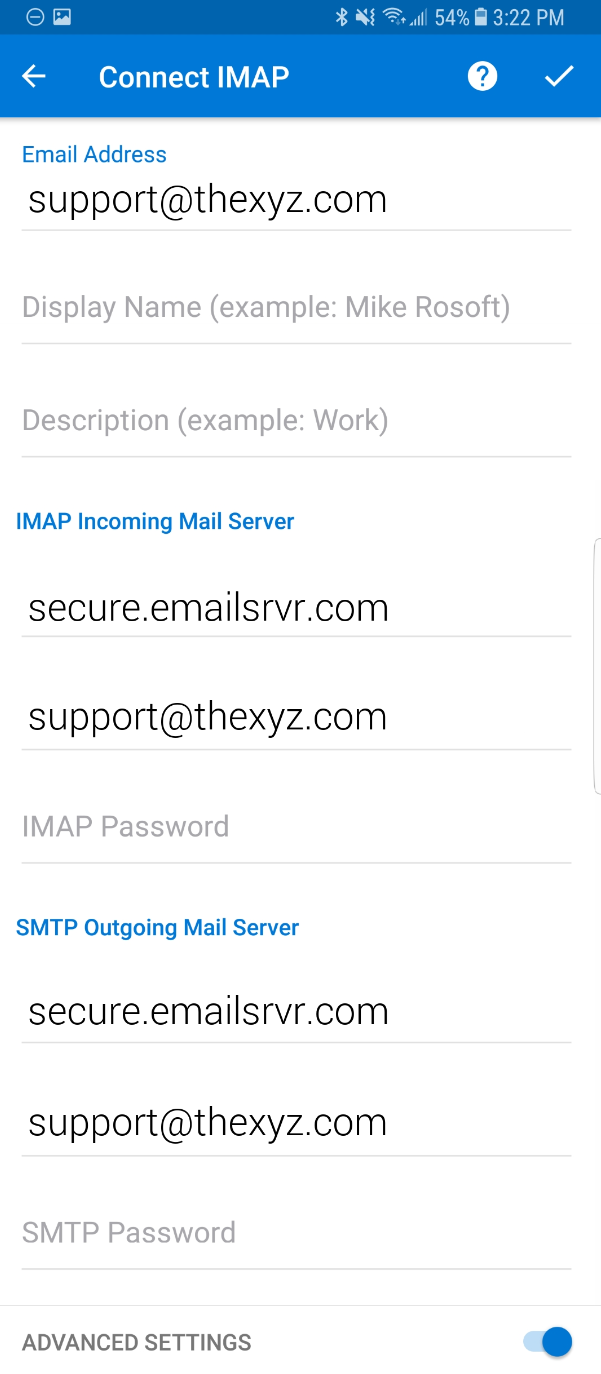
- Enable the Advanced Settings slider
- Enter the following settings on the screen, as shown below:
Email: Your email address
Display Name: Your name
Description: something to help you distinguish the account
IMAP Incoming Server: secure.emailsrvr.com
Username: Your email address
Password: Your mailbox password
SMTP Outgoing Server: secure.emailsrvr.com
Username: Your email address
Password: Your mailbox password
Once you're done, click the checkbox on the top right corner
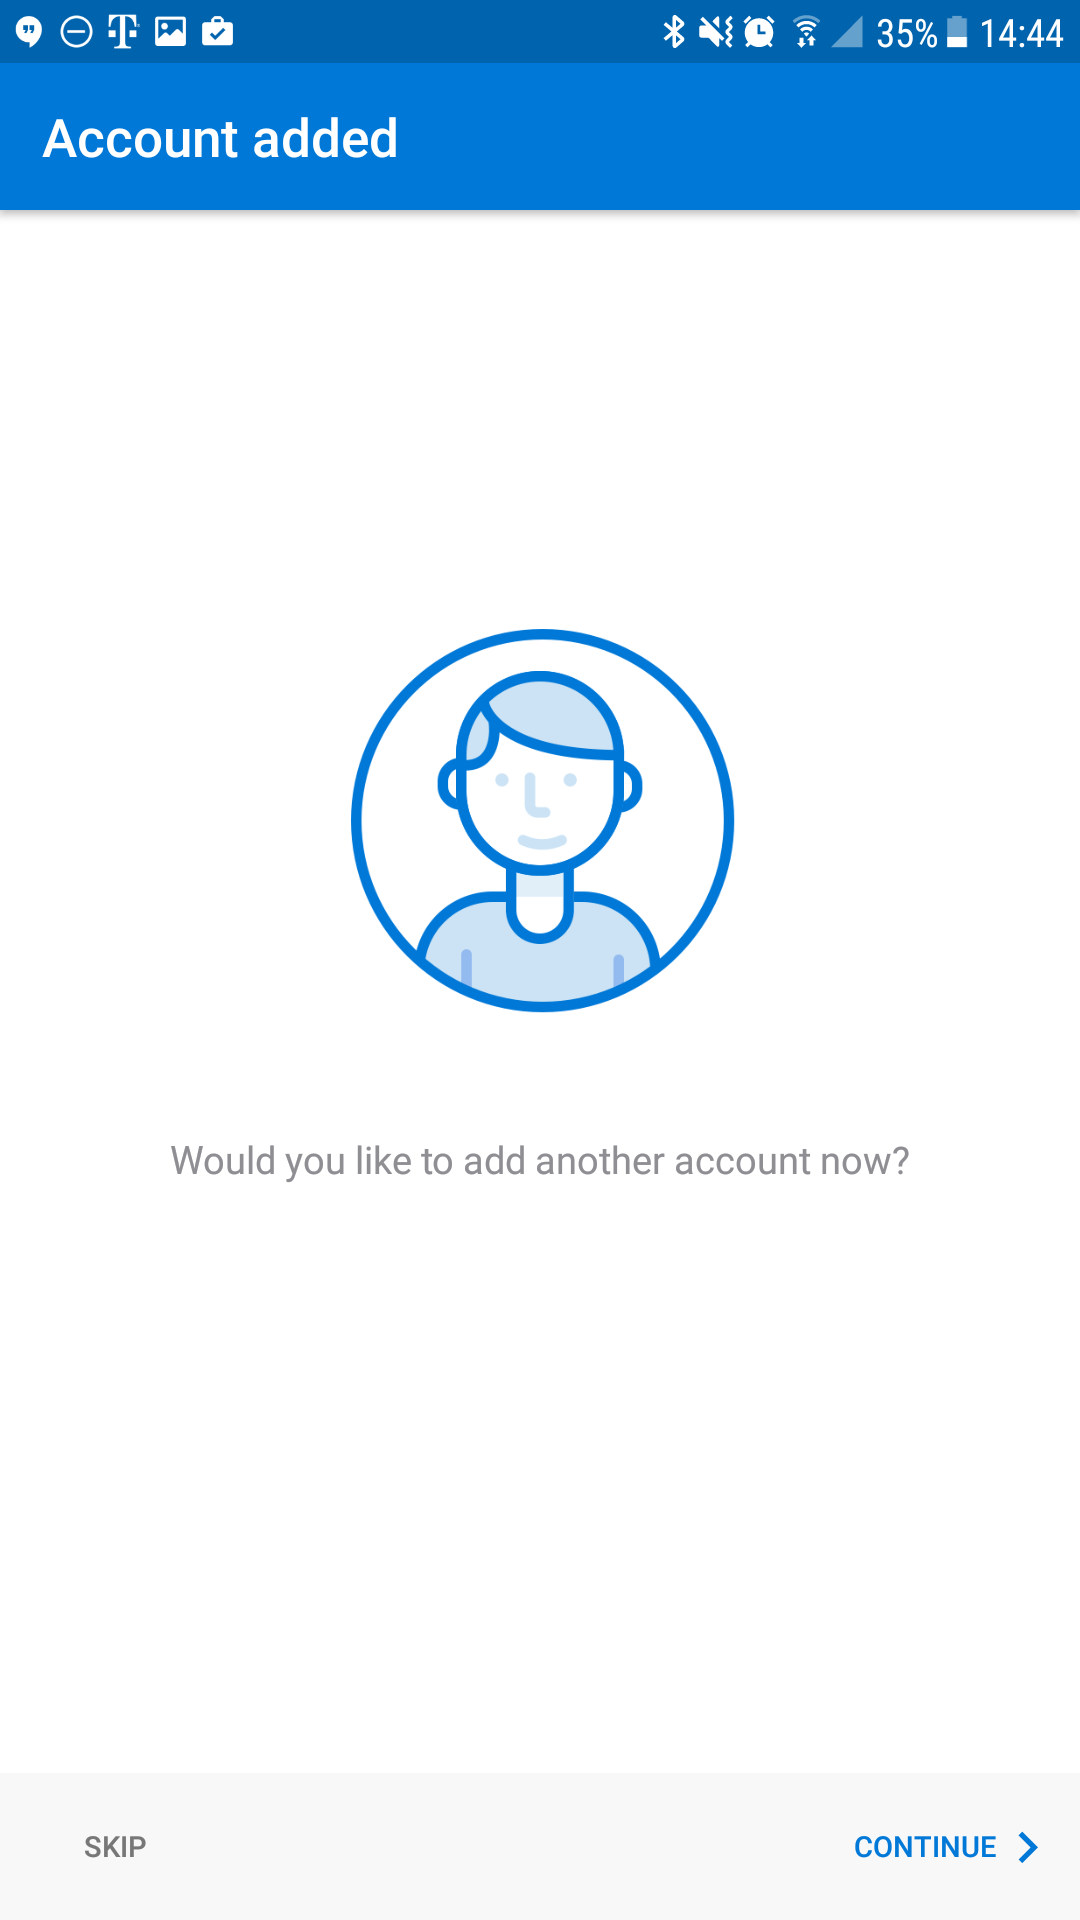
- Tap Skip to skip adding another account
- You may go through the app tutorial by clicking on the arrow on the bottom right, or tap Skip to skip it
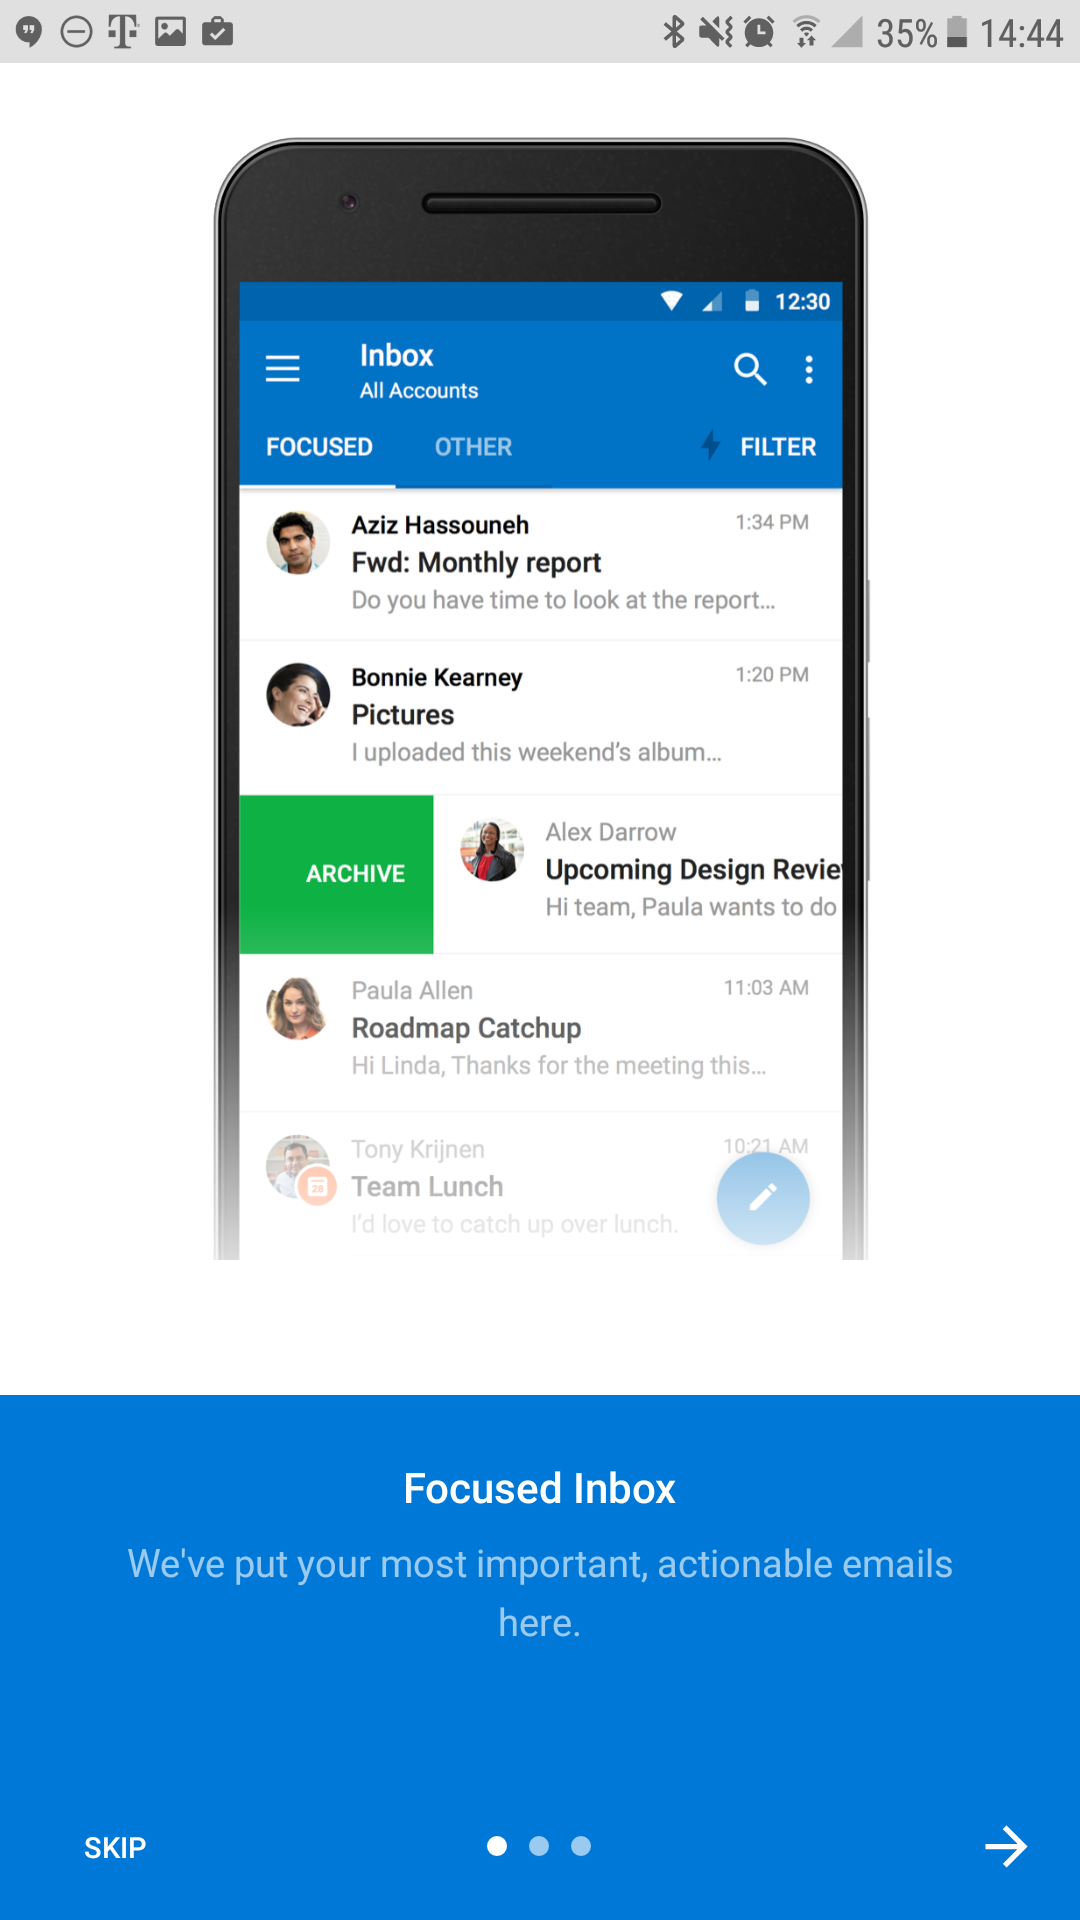
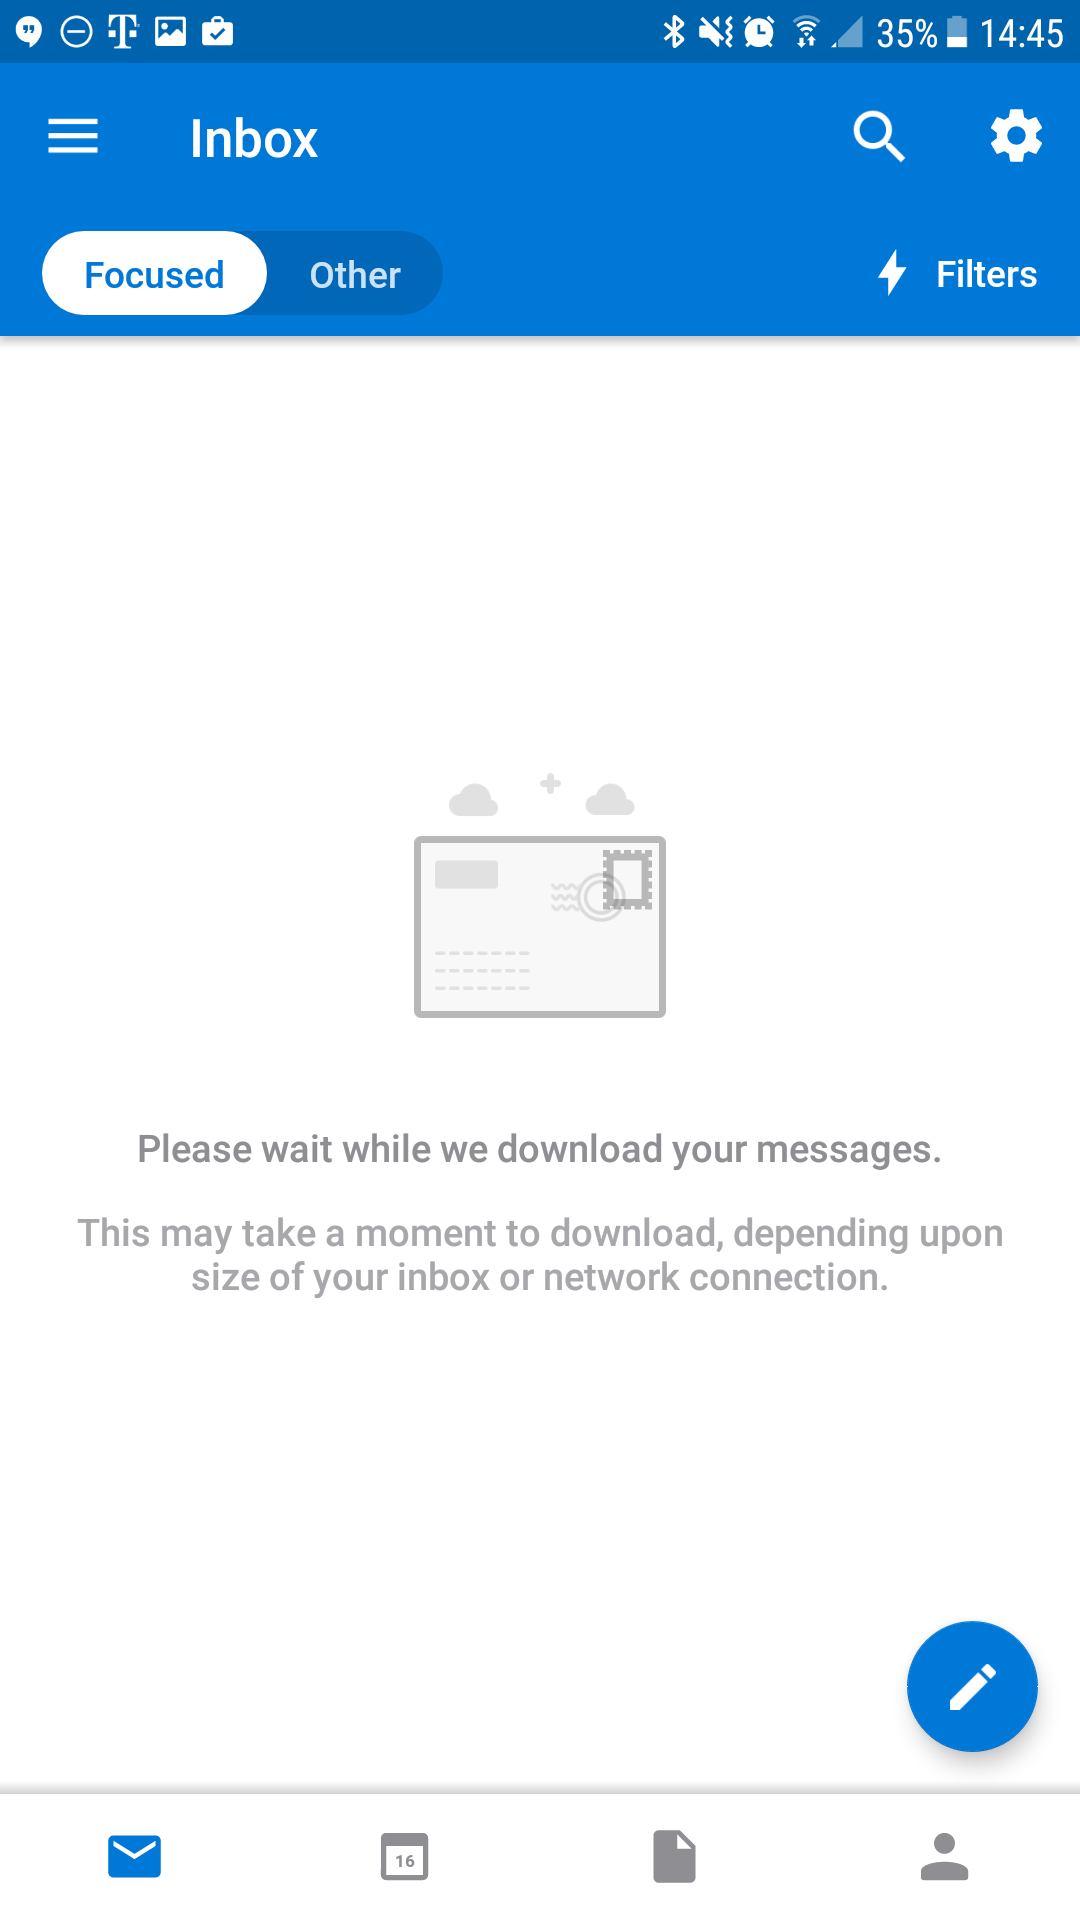
- Once you see the mailbox screen, you are all set! It may take a few minutes to download mail depeding on a variety of factors
Don't forget about your other devices! Click here to set up a computer, tablet, or phone.
