Android: Nexus (Mobile Sync)
This is a setup guide that will assist you in setting up your Hosted Mailbox on Google Nexus mobile and tablet devices using Mobile Sync.
- Locate the "Settings" icon within your Apps Drawer.

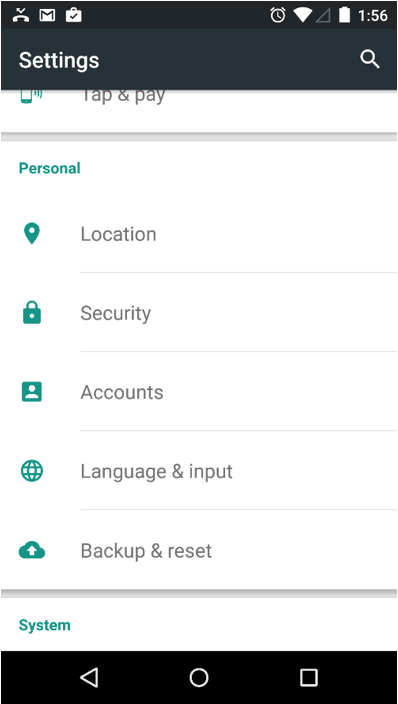
- Within Settings, scroll down to "Personal" and select "Accounts".
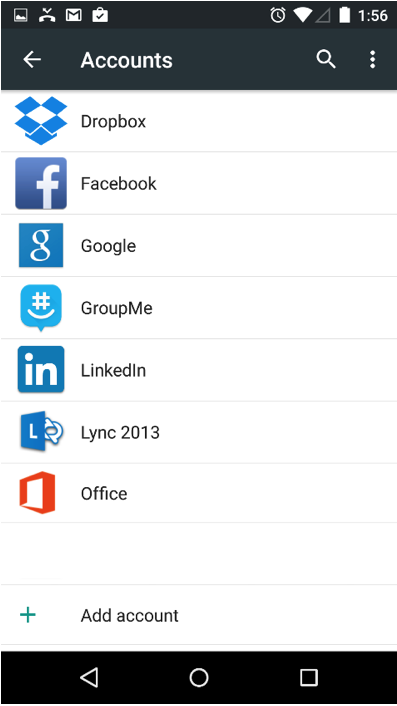
- Select "Add Account".
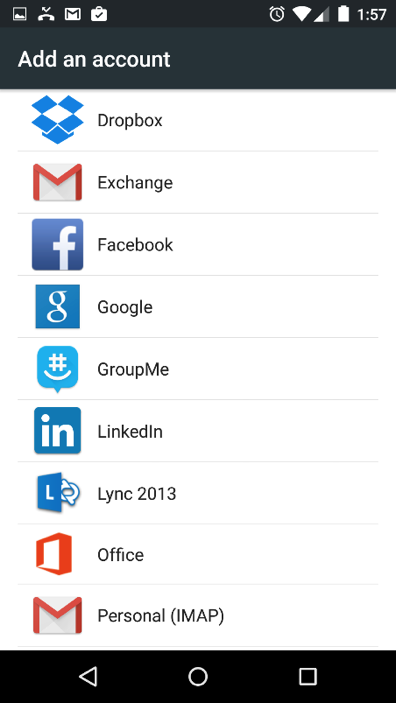
- Select "Exchange".
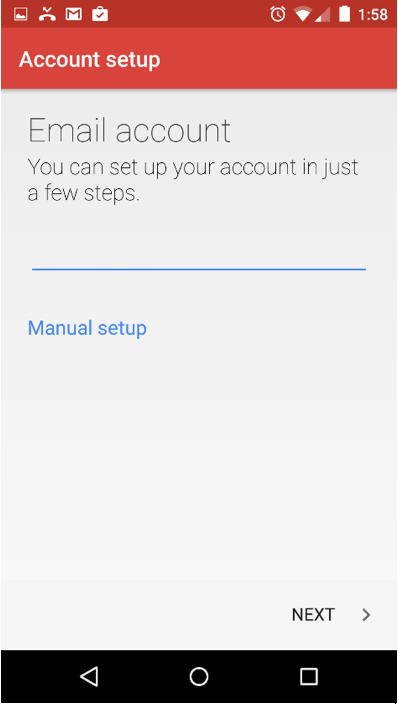
- Enter the following information:
- "Email Address": Enter your full email address
- Enter the following information:
- Tap "Next".
- Enter the following information:
- "Password": Your Mailbox Password
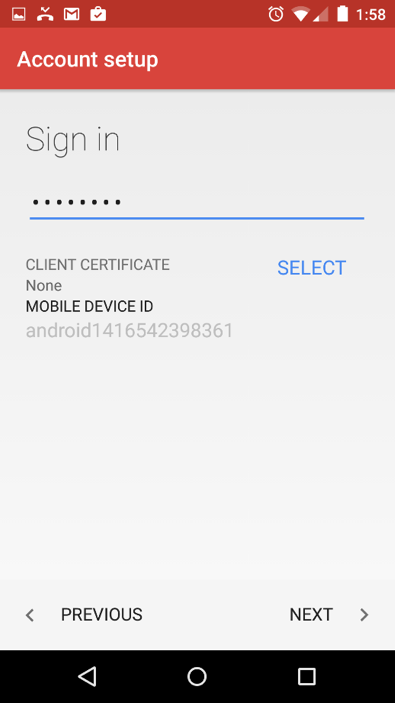
- Tap "Next".
- Enter the following information on the next screen:
- "Server": mobilesync.emailsrvr.com
- "Port": 443
- "Security Type": SSL/TLS
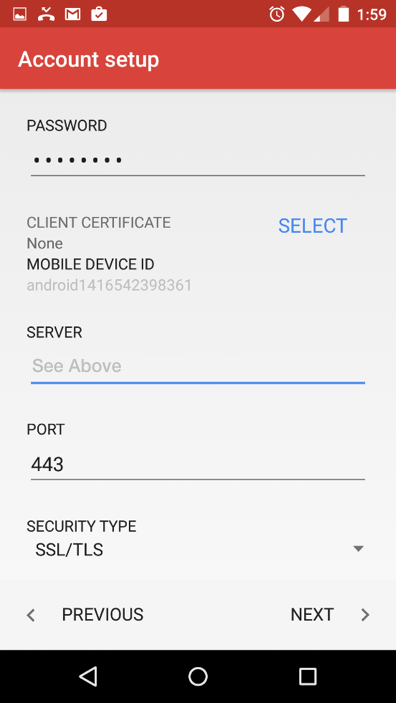
- Tap "Next"
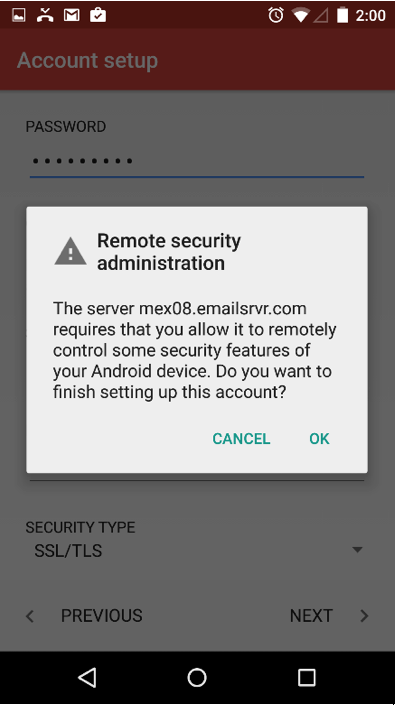
- If prompted with the Security Administration screen, select "Ok" to proceed.
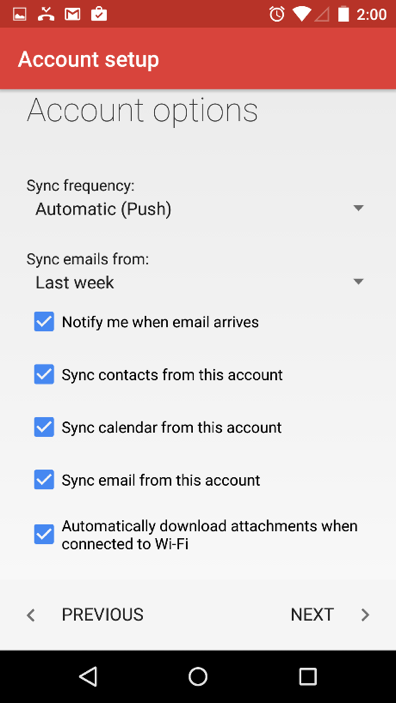
- Within the "Account Settings" screen, adjust the items you wish to sync.
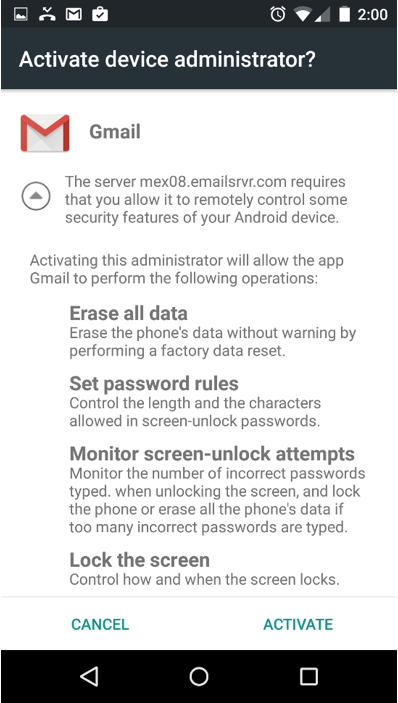
- Within the the next screen, this is alerting you that ActiveSync will modify your device security settings to meet your organization's criteria. Tap "Activate".
- Success! Your Nexus device should now begin syncing with your mailbox.
