Add a single mailbox to your domain
This guide assumes you already have a custom domain email service with Thexyz and have admin access already. If you are looking to set up a new custom domain email service, please refer to the guide, setting up email service on your custom domain name.
- Log in to the Email Admin Control Panel using your emails admin ID and password.
-
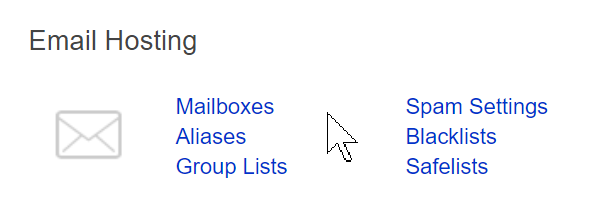
In the Email Hosting section, click Mailboxes.
- If you are managing multiple multiple domains in the email admin CP, select the domain to which you want to add a mailbox.
-
Click Add Mailbox.
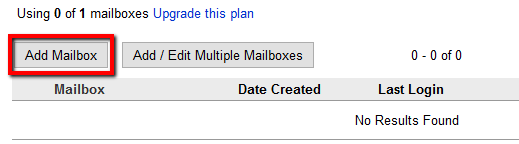
Note: If the Add Mailbox button is unavailable, you must add the necessary licenses to your account before you can add a mailbox. See Setting up email service on your custom domain name for instructions.
-
Enter the following information in the fields provided:
- First Name and Last Name (optional): Enter first and last name information for the mailbox owner.
- Display Name (optional): Enter the name to display when the user sends an email.
- User Name: Enter the name to use in the email address. For example, if you specify firstname as the username, and the domain is domainexample.com, then the email address is firstname@domainexample.com. Note: You are not able to create a username that already exists as an alias, group list, distribution list, or as another mailbox. You must remove the conflicting address from the hosted email environment before using the same username for another purpose.
- Password: Enter a password for the email account using the following requirement
- It must be at least eight characters.
- It must use characters from at least three of the following four character types:
- English alphabet uppercase letters (A-Z)
- English alphabet lowercase letters (a-z)
- Numerals (0-9)
- Non-alphanumeric symbols (such as !, #, $, %)
- Confirm: Retype the password that you entered in the Password box.
-
Click Save.
Note: After a mailbox is created in the Email Admin Control Panel, it can take up to 15 minutes for the mailbox to become accessible. You can then log in to the mailbox through Webmail at webmail.thexyz.com
The mailbox appears in the mailboxes list. To manage additional features for the mailbox, such as forwarding, autoreply, aliases, or settings, click the mailbox name and then click the corresponding tab on the details page.
Add multiple mailboxes to your domain
Warning: When you add multiple mailboxes, the time needed for the new mailboxes to become accessible is extended because mailbox additions are processed sequentially.
- Log in to the Email Admin Control Panel using your email admin ID and password.
-
In the Email Hosting section, click Mailboxes.
- If you have multiple domains, select the domain to which you want to add a mailbox.
-
Select the drop-down menu next to Add Mailbox and select Add/Edit Multiple Mailboxes.
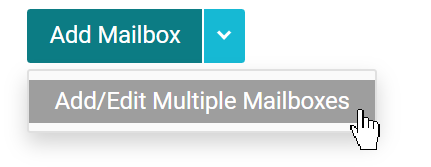
Note: If the Add/Edit Multiple Mailboxes button is unavailable, you must add the necessary number of licenses to your account before you can add a mailbox. You can order a new mailbox license on the Email Hosting page or contact support.
-
Create a CSV or Excel file(XLS) that contains the information detailed in the Data Format section of the Import Mailboxes page. You can download a template here or from that section to help you create a file with the correct format.
The Username, Password, and Enabled fields are required for all mailbox entries in the file. Passwords must meet the following requirements:
- It must be at least eight characters.
- It must use characters from at least three of the following four character types:
- English alphabet uppercase letters (A-Z)
- English alphabet lowercase letters (a-z)
- Numerals (0-9)
- Non-alphanumeric symbols (such as !, #, $, %)
Note: You can’t create a username that already exists as an alias, group list, distribution list, or another mailbox. You must remove the conflicting address from your account before using the same username for another purpose.
- In the Import File section of the Import Mailboxes page, click Browse or Choose File.
- Locate and select the CSV or Excel file that you created.
- Click Open and then click Import.
After they are created, the mailboxes appear in the mailboxes list. Any errors that occur are detailed in the import log. Make corrections as detailed in the import log and import again.
Add a mailbox license
If the buttons to add one or more mailboxes are unavailable or greyed out, you must add the necessary licenses to your account before you can add a mailbox.
