To add DKIM to your domain name registered with Godaddy, first, make sure you have logged into Thexyz Email Admin area and enabled DKIM to generate your sender authentication keys.
The next step is to log in to your Godaddy account in order to make DNS changes to your domain name DNS records. Once you have obtained your DKIM record from Thexyz Control Panel, you can make your way over to Godaddy to change the DNS settings so that you can verify the domain in Thexyz Email Admin Control Panel. Enabling DKIM will improve the trust of outbound mail when you send an email from your domain.
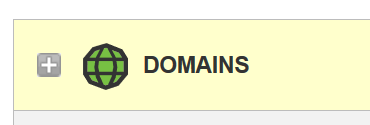
- Login to your Godaddy account and select My Domains from the menu.
- Select the domain name and then click Manage DNS to access the DNS management page.
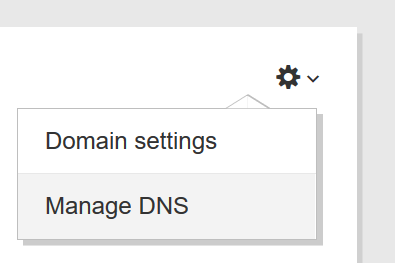
Click the add button or it may also be a button like this DNS button below.

- You can add a new record and add a TXT record by entering the TXT record key in the Host **field and the **TXT Record Value in the TXT Value field.
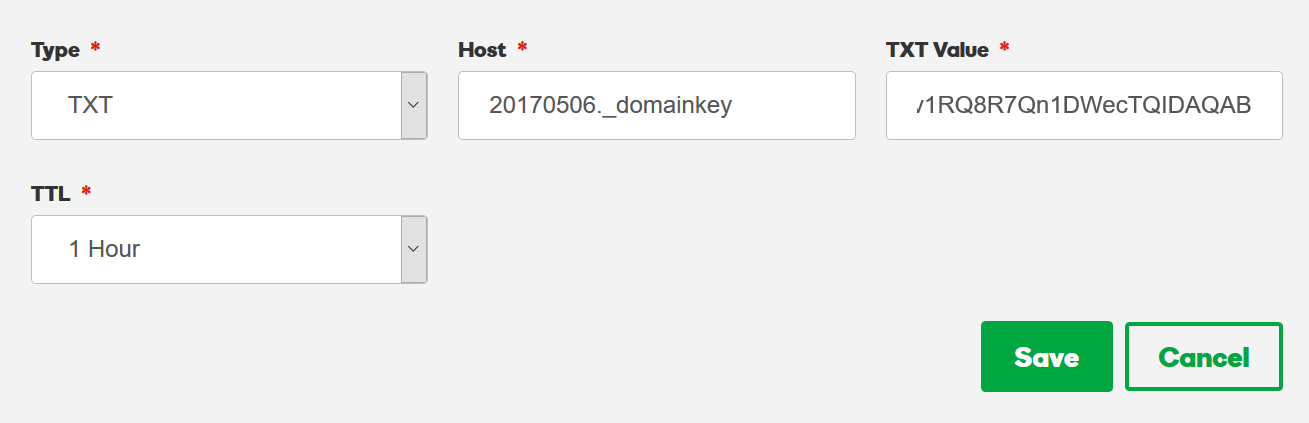
Click the Save button and you are done. It should take around 1 hour to propagate depending on the TTL setting.
