The .htaccess file is a powerful configuration file used by Apache web servers. It allows you to control how your website behaves — for example, enabling redirects, managing caching, blocking IPs, or forcing HTTPS.
The htaccess file is found at the root of your website's files. To access your website files you will need to login to your web server.
- Log in to your Client Area: https://www.thexyz.com/account
- Enter your email address as the username and your client area password. If you do not remember this or have it saved to a password manager, you can request a reset via the 'Forgot Password' button.
- Once logged in, click the Services tab as pictured below.

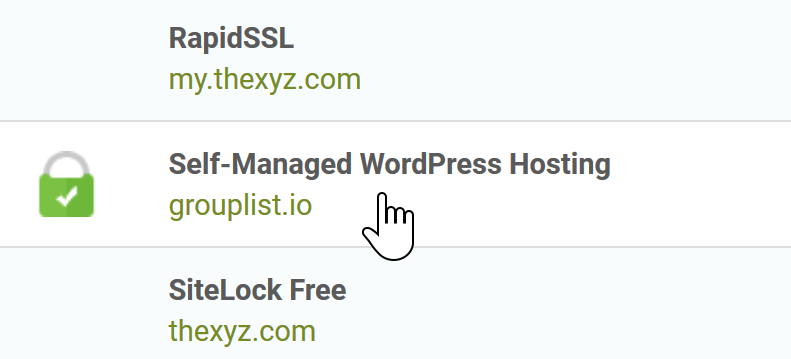
- You can then find your Web Hosting service from the list of services.

- On the left under Actions, click Login to Cpanel.

- Once logged in, click the File Manage icon.
- In the public_html directory, you will find .htaccess
⚠️ Note: If you don’t see the .htaccess file, click Settings in the top-right corner of File Manager and enable Show Hidden Files (dotfiles).
Common Uses: Redirects and HTTPS Rules
The .htaccess file is often used for URL redirects — for example, when moving pages, switching domains, or enforcing HTTPS.
1. Redirect a Single Page
Redirect one page to another:
-
301means a permanent redirect, which is best for SEO. -
Replace the old and new URLs with your own.
2. Redirect an Entire Website
If you’ve moved your site to a new domain:
This will forward all traffic from your old site to the new domain.
3. Force HTTPS (Secure URL)
To automatically redirect all visitors to the HTTPS version of your website, add:
4. Redirect www to non-www (or vice versa)
To remove “www”:
To add “www”:
Important Tips
-
Backup your .htaccess file before making changes.
-
Even a small typo can cause your site to stop loading.
-
Use File Manager’s code editor or a plain-text editor like Notepad.
-
After editing, clear your browser cache to test redirects properly.

