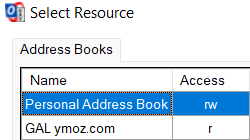
CardDAV is a protocol used to manage and synchronize contacts between multiple devices. If you use Microsoft Outlook as your primary email application, you can easily add a CardDAV address book to your Outlook account and keep all your contacts in sync across all your devices. In this guide, we will show you how to add a CardDAV address book to Microsoft Outlook.
Step 1: Install a CardDAV Client
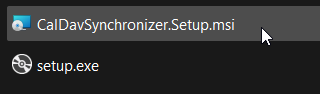
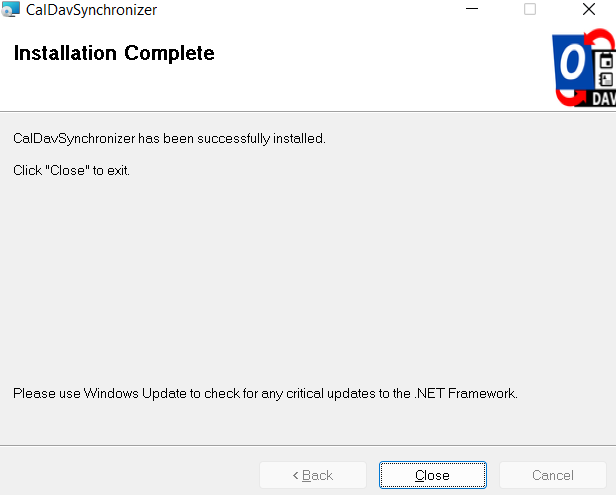
Before you can add a CardDAV address book to Microsoft Outlook, you will need to install a CardDAV client. There are many CardDAV clients available for Windows, including EVO Collaborator for Outlook, which is a paid option, and the free CardDAV-Sync app. In this guide we will use the free CardDAV-Sync app for Outlook.
Step 2: Configure the CardDAV Client
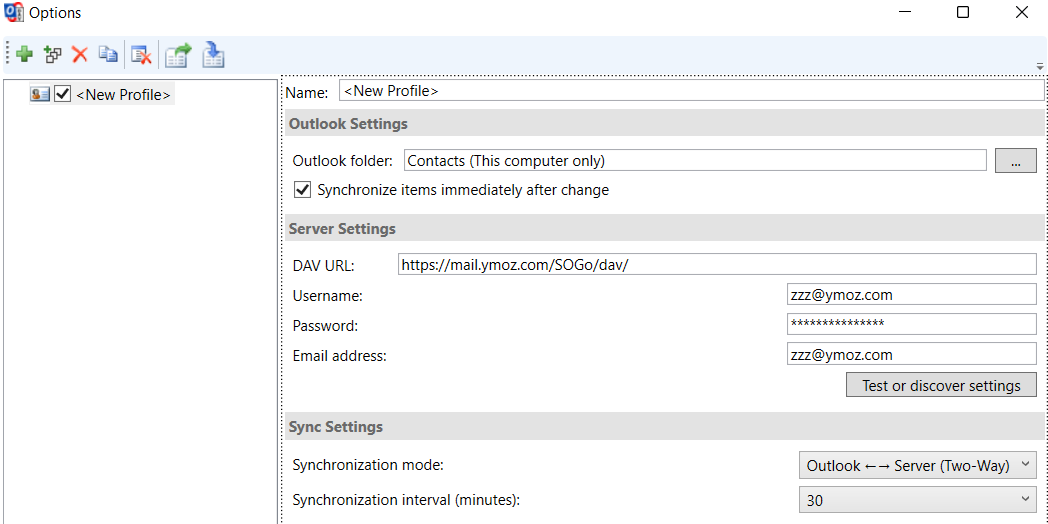
Once you have installed a CardDAV client, you will need to configure it to connect to your CardDAV address book. The steps for configuring the CardDAV client will vary depending on the client you are using. In most cases, you will need to enter the URL of your CardDAV address book, your username and password, and the port number for the connection.
Step 3: Add the CardDAV Address Book to Microsoft Outlook
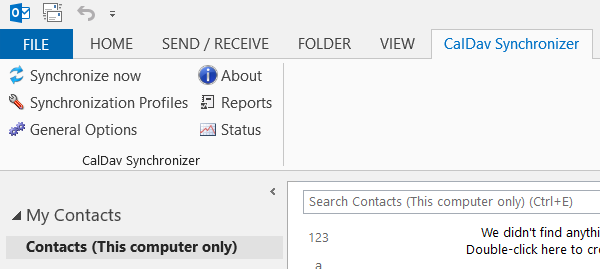
Once you have installed the CardDAV client, you can access the CardDAV address book application within Microsoft Outlook. To do this, open Microsoft Outlook and go to the "File" menu, then select CalDav Synchronizer from the toolbar menu.
Step 4: Connect your account via CardDav
In the CardDav sync window, select Synchronization profiles and then click on the "plus sign" button to add a new account. Select "Manual setup or additional server types" and click "Next."
Step 5: Select the CardDAV Account Type
On the next screen, select "Other" and click "Next." Select "Internet Email" and click "Next."
Step 6: Enter Login Credentials
Enter your login credentials for the CardDAV address book in the "User Name" and "Password" fields. You may also need to enter your email address or the email address associated with your CardDAV address book.
Step 7: Connect to the CardDAV Address Book
Click the "Test Account Settings" button to connect to the CardDAV address book. If the connection is successful, you should see a message indicating that your account settings are correct. If the connection is not successful, check your login credentials and the URL of your CardDAV address book and try again.
Step 8: Finish Adding the Address Book
Click the "Finish" button to complete the process of adding your CardDAV address book to Microsoft Outlook. You should now see the CardDAV address book listed under "Contacts" in the Outlook "Home" tab.
Step 9: Sync Your Contacts
In order to keep your CardDAV address book and Microsoft Outlook contacts in sync, you may need to periodically sync your contacts. To do this, right-click on the CardDAV address book and select "Synchronize." You can also set up automatic syncing by selecting "File" and then "Account Settings."
Conclusion
Adding a CardDAV address book to Microsoft Outlook is a straightforward process that can be completed in just a few steps. By adding a CardDAV address book, you can keep all your contacts in sync across all your devices and stay organized no matter where you are. Whether you are at home or on the go, your contacts are always accessible and up-to-date.
